How to Connect Airpods to Laptop: Easy Step-by-Step Guide
To connect Airpods to a laptop, simply enable Bluetooth on both devices and follow the pairing instructions. Introducing wireless earbuds like Airpods has revolutionized the way we listen to music and interact with devices.
Whether you want to enjoy your favorite tunes or engage in video conferences, being able to connect your Airpods to your laptop is a convenient option. In this guide, we provide a step-by-step process to seamlessly connect your Airpods to your laptop using Bluetooth technology.
By following these instructions, you can enjoy a wireless audio experience without any hassle. So, let’s dive in and learn how to connect Airpods to a laptop effortlessly.

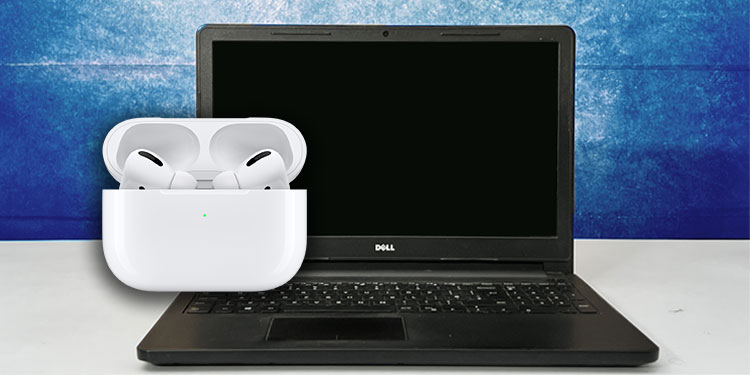
Credit: www.technewstoday.com
Check Compatibility And Set Up
To connect Airpods to your laptop, start by verifying the compatibility of your laptop with Airpods. Make sure your Airpods are fully charged before proceeding. Next, enable Bluetooth on your laptop settings to establish a connection. Following these steps will allow you to connect your Airpods seamlessly to your laptop and enjoy a wireless audio experience.
So, get ready to enjoy your favorite music or take important calls with the convenience of Airpods and your laptop. With a few simple steps, you can easily connect your Airpods to your laptop and enjoy the freedom of wireless audio.
Say goodbye to tangled wires and hello to wireless convenience. Connect and indulge in an immersive audio experience with your Airpods and laptop.
Pairing Airpods With Laptop
Connecting Airpods to your laptop is a straightforward process. First, open the Airpods case and make sure they are charged. Next, go to your laptop’s Bluetooth settings. Then, put the Airpods into pairing mode by pressing the button on the back of the case.
Once in pairing mode, select the Airpods from the list of available devices on your laptop. Finally, complete the pairing process by following any on-screen instructions. And that’s it! You should now be able to enjoy your Airpods wirelessly connected to your laptop for a seamless listening experience.
Adjust Sound Settings And Controls
To connect Airpods to your laptop, start by adjusting the sound settings and controls. Test the audio output to ensure it’s working properly. Adjust the volume and audio balance according to your preference. Customize the double-tap feature on your Airpods for easy access to certain functions.
Don’t forget to enable the automatic ear detection feature for a seamless experience. With these simple steps, you can easily connect and enjoy using your Airpods with your laptop.
Troubleshooting Common Issues
To connect Airpods to your laptop, ensure that Bluetooth is enabled and functioning properly. If you encounter issues, try restarting both devices and attempting to pair them again. In case the problem persists, you can reset your Airpods to their factory settings.
Another potential solution is to update the Bluetooth driver on your laptop. However, if none of these troubleshooting steps work, it is advisable to seek technical support for further assistance. Troubleshooting common issues when connecting Airpods to a laptop involves checking the Bluetooth functionality, restarting devices, resetting Airpods, updating drivers, and reaching out for technical support if problems persist.
Frequently Asked Questions On How To Connect Airpods To Laptop
Why Can’T I Pair My Airpods To My Laptop?
You can’t pair your AirPods to your laptop because they are meant to be used with Apple devices only.
How Do I Connect My Airpods To My Hp Laptop?
To connect your AirPods to your HP laptop, follow these simple steps: 1. Open the Bluetooth settings on your HP laptop. 2. Put your AirPods in pairing mode by pressing and holding the button on the back of the AirPods case.
3. Once your AirPods appear in the Bluetooth devices list, select them to connect. 4. Now your AirPods are successfully connected to your HP laptop and ready to use. Remember to turn on Bluetooth on your laptop before starting the process.
Enjoy wireless audio with your AirPods!
How Do I Connect My Airpods To My Laptop Windows 11?
To connect your AirPods to your Windows 11 laptop, follow these steps: 1. Open the Bluetooth settings on your Windows 11 laptop. 2. Make sure Bluetooth is turned on. 3. Put your AirPods in pairing mode by pressing and holding the button on the case.
4. Look for your AirPods in the list of available devices and click on them to connect.
Why Won’T My Airpods Show Up On Bluetooth?
If your AirPods won’t show up on Bluetooth, try resetting them by holding the setup button until the LED flashes amber.
Conclusion
Connecting Airpods to a laptop is a simple process that can greatly enhance your audio experience. By following the steps outlined in this blog post, you can easily pair your Airpods with your laptop and enjoy wireless audio on a whole new level.
Whether you’re using Windows or macOS, the instructions provided are clear and user-friendly, making the connection process hassle-free. Additionally, we discussed troubleshooting tips to resolve any potential issues you may encounter along the way. Remember to keep your Airpods charged and in close proximity to your laptop for the best connection.
So, why wait? Take advantage of the versatility and convenience of Airpods by connecting them to your laptop today. Enjoy the freedom of wireless audio and elevate your listening experience!